
 Home /
Medical Device Prototype Development Guide: Design Decisions, Testing, and Manufacturing Readiness


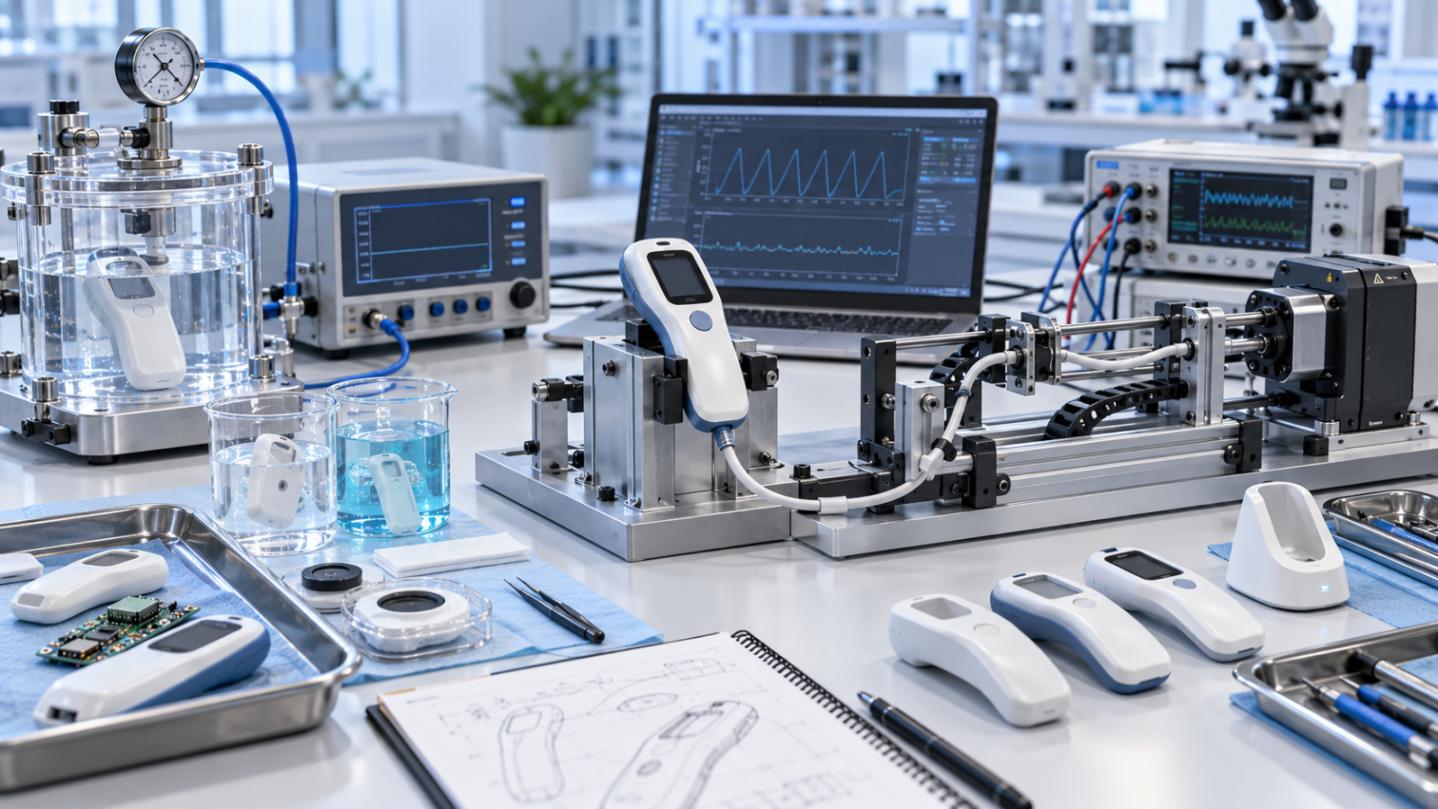

Medical device prototyping should produce evidence for specific development decisions. A housing model can reveal poor grip geometry while providing little information about sealing, sensor accuracy, or compatibility with repeated disinfection.
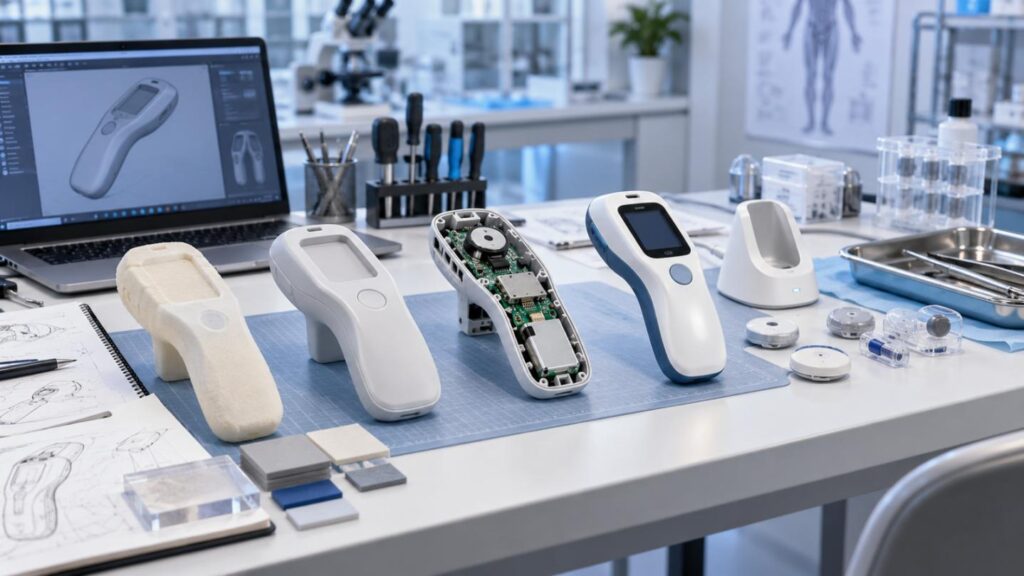
At LKK Design, we connect industrial design, mechanical and electronic engineering, prototyping, and manufacturing planning. This Medical Device Prototype Development Guide explains how to define each build, select representative materials and processes, and resolve risks before committing to tooling.
1. User Requirements Come First When Developing Models
Determine Operating Conditions
Starting with intended use and classification of the device and intended segment of the market is helpful in determining the following:
• Users and Tasks: Professional and home users, device and glove operating sequence, as well as errors in the foreseeable scope of device handling.
• Environment: Temperature, humidity, exposure to liquids, transport, and storage.
• Patient Contact: Contact location, duration, and whether contact is direct or indirect.
• Reuse: Design for single-use or construct with the ability to be cleaned, disinfected, or sterilized.
• System Interfaces: Sensors, batteries, connectors, consumables, and software.
These conditions determine which design features require early investigation.
Convert Expectations Into Testable Inputs
Replace “comfortable,” “durable,” and “accurate” with defined assessment criteria. Specify the operating force range, dimensional limits, measurement conditions, or number of service cycles relevant to the design.
For a handheld instrument, grip geometry, trigger force, center of mass, and cable loading should be evaluated together. At LKK Design, our user research and mechanical architecture work help translate these relationships into prototype requirements.
2. Select Prototype Fidelity by Decision
A practical Medical Device Prototype Development Guide distinguishes what each build can demonstrate—and what remains unresolved.
| Build Type | Decision Supported | Representative Features | Remaining Limitations |
| Proof of concept | Whether the technical principle is viable | Critical sensing, actuation, or signal path | Packaging, usability, and production performance |
| Appearance and ergonomic model | Whether users can handle and operate the layout | Shape, interface position, representative weight | Functional performance and material durability |
| Functional engineering prototype | Whether subsystems operate together | Mechanical interfaces, electronics, firmware | Final tooling and manufacturing consistency |
| Production-representative build | Whether the intended construction meets requirements | Specified materials, relevant processes, assembly | Broader validation and regulatory evidence may remain |
Define an exit criterion for every build. Record the decision, supporting results, unresolved risks, and changes required before proceeding.
Subsystem experiments can run alongside ergonomic studies. Integrated builds remain necessary to expose interactions between enclosure geometry, sensor placement, heat, wiring, and assembly.
3. Compare Processes by Material and Test Representativeness
Process choice affects the meaning of test results.
| Process | Best-Fit Evaluation | Technical Advantage | Critical Limitation |
| 3D printing | Packaging, geometry, early assembly | Rapid changes and complex internal features | Orientation, porosity, surface finish, and resin properties can influence results |
| CNC machining | Precision fits, structural parts, material trials | Specified stock materials and controlled interfaces | Does not reproduce molding shrinkage, weld lines, or molded-in stresses |
| Vacuum casting | Repeated appearance and handling evaluations | Multiple samples with varied colors or hardness | Simulated thermoplastics differ in aging, chemical resistance, and mechanical behavior |
| Rapid injection tooling | Molded geometry and intended resin evaluation | Reveals warpage, shrinkage, and assembly behavior | Tooling investment; tool design and processing must represent the test purpose |
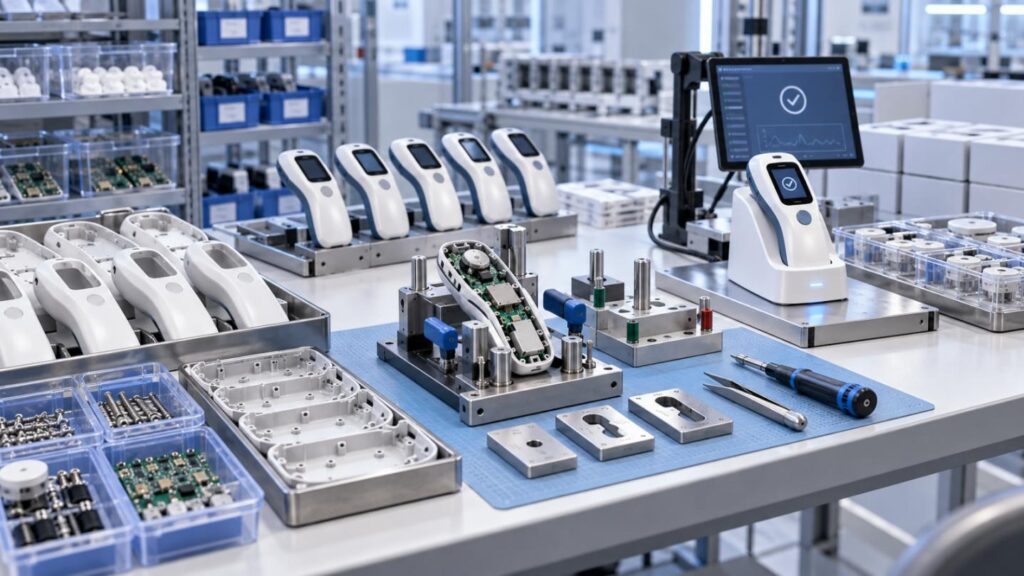
At LKK Design, we combine these routes according to component function. A machined sensor mount inside a printed housing can support integration testing, but conclusions must reflect that construction.
Assess total iteration cost: fabrication, finishing, assembly, inspection, testing, and redesign. A cheaper sample is poor value when its material differences invalidate the planned test.
4. Build a Risk-Based Verification Plan
Test the Features That Control Performance
This Medical Device Prototype Development Guide outlines measurable failure mechanisms in the following sequence:
• Tolerance stacks: Variation in the alignment of sensor, engagement of a connector, or compression of a seal.
• Mechanical durability: Retention of fasteners, wear of latches, strain relief of cables, and repeated assembly of the system.
• System performance: Calibration and drift, operation of the system, responsiveness to faults, and behavior of the battery.
• Material compatibility: Cracking, swelling, discoloration, or changes in the properties of the material when subjected to cleaning or sterilization.
• Patient-contact suitability: Material formulation, residues of processing, coatings, and contact of the material.
Electrical safety and biocompatibility, as well as software and biological evaluation, are device-dependent and dependent on the applicable requirements.
Separate Verification From Validation
Verification of the design output is performed to check if the inputs of the design have been met. Validation is performed to check whether the device meets the requirements of the user and the intended use.
Maintain traceability by:
Requirement → Risk Control → Test Method → Acceptance Criterion → Result → Design Revision
Identify sample configuration, material lots where relevant, firmware version, equipment, and deviations. Justify sample quantities against the test purpose and variability. Early usability feedback does not complete the usability validation.
5. Control Development Cost and Schedule
Manage the uncertainties driving repeat builds:
• Cost: Tight tolerances, specialized materials, revisions and correction of design problems, changes to tooling, and external testing.
• Lead time: Long lead components, quality of design release, test availability, and corrective work.
• Change control: Keep CAD, drawings, BOM, firmware, and test records in sync.
Resolve high-consequence uncertainties early. Avoid finishing work on final enclosures while there are thermal or interface issues that could change the design.
6. Transfer a Reproducible Design Into Production
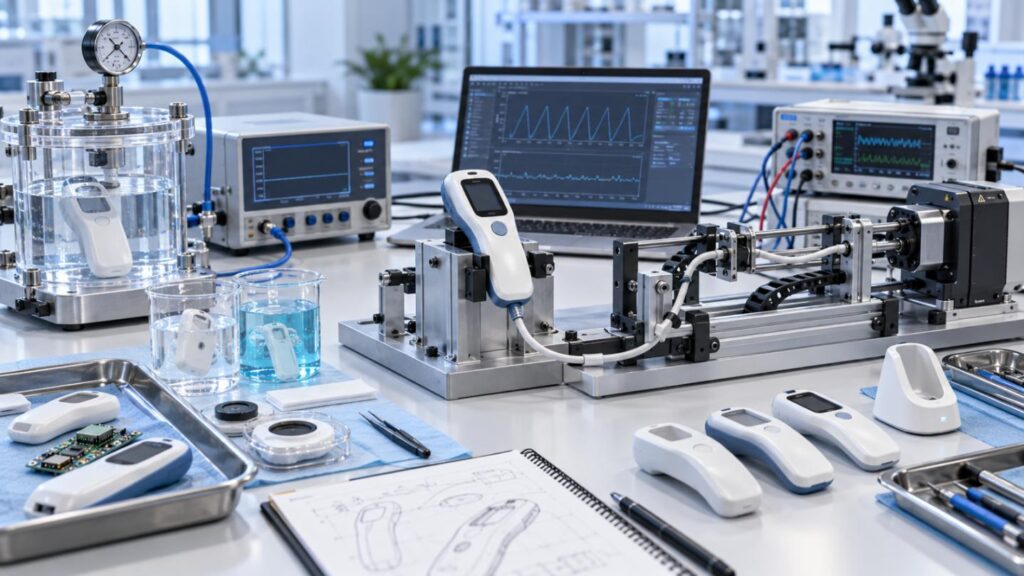
During the design freeze we evaluate our DFM and manufacturing engineering issues.
• Wall thickness, draft, undercuts, fastening and assembly access.
• Critical dimensions, inspection access, fixtures, and acceptance criteria.
• Approved materials, suppliers, finishes, and substitution controls.
• Pilot-build defects, rework, functional consistency, and repeatability.
• Released drawings, BOMs, assembly instructions, and test procedures.
A prototype in which some fitments are required or adjusted with no documentation indicates incomplete transfer work.
7. Define the Next Development Step With LKK Design
Use this Medical Device Prototype Development Guide to prepare your intended use, current CAD, prototype quantities, test objectives, target markets, and unresolved risks.
At LKK Design, we can help connect these inputs to design reviews, suitable prototype processes, and manufacturing planning—so the next build answers the questions that matter before further investment.
FAQs
Q1. What Medical Device Prototype Development Services Does LKK Design Offer?
LKK Design combines product strategy, industrial design, mechanical engineering, electronics development, prototyping, and manufacturing planning. Project scope can focus on a specific development challenge or connect several stages from concept evaluation to production preparation.
Q2. What Information Should I Provide Before Starting a Prototype Project With LKK Design?
Share the intended use, target users, operating environment, available CAD files, prototype quantity, and testing objectives. Include critical dimensions, patient-contact conditions, target markets, and scheduling requirements so we can assess the development scope.
Q3. Can LKK Design Help Develop a Prototype From an Early Concept?
Yes. Our product strategy and design services can help translate an initial concept into requirements, system architecture, and prototype objectives. Early work should identify the technical uncertainties that need investigation before detailed engineering begins.
Q4. Which Prototyping Processes Can LKK Design Provide?
LKK Design’s capabilities include CNC machining, 3D printing, vacuum casting, sheet metal fabrication, and rapid tooling. We select processes according to geometry, material requirements, quantities, tolerances, and what the samples need to demonstrate.
Q5. How Does LKK Design Choose Between CNC Machining and 3D Printing?
We compare the test purpose, material properties, critical interfaces, geometry, and modification frequency. CNC machining suits many precision interfaces and specified stock materials; 3D printing supports rapid geometry changes and complex forms.
Contact Us



- 20+ Design Industries Serviced
- 200+ Product Categories
- 1,000+ Industry Leaders Served
- 10,000+ Products Successfully Launched

Founder and Chairman of LKK Design Group
Ready to get started? Connect with us today!
 Talk to Our Team