
 Home /
 How 3D Printed Product Prototypes Are Made

Table of Contents


Why 3D printing is ideal for product prototypes
3D printing has transformed how physical product prototypes are made. Compared with traditional methods, it allows teams to iterate quickly, reduce tooling costs, and bring realistic models into meetings within days instead of weeks.
By printing functional mockups and high-fidelity samples, designers and engineers can:
- Validate ergonomics and aesthetics
- Check assembly and fit between parts
- Test basic mechanical performance
- Present compelling models to investors, customers, or internal stakeholders
When 3D printing is integrated with professional design and contract manufacturing services, it becomes part of a complete path from idea to mass production rather than a standalone workshop process.
Step 1: Turning an Idea into a 3D Model
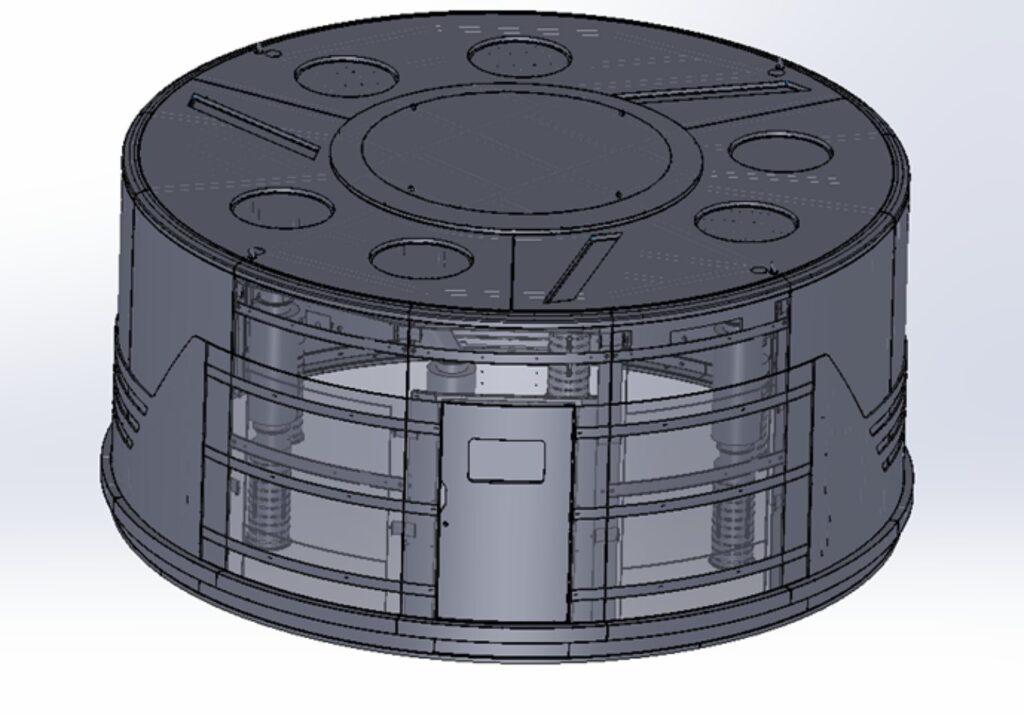
Every 3D printed prototype starts with a digital design. Designers typically use CAD tools such as Rhino, Fusion 360, or similar software to translate sketches, requirements, and constraints into 3D geometry.
Key tasks in this stage include:
- Defining overall dimensions, interfaces, and clearances
- Applying fillets, chamfers, ribs, and other details to reflect functional requirements
- Planning assembly structures like snap-fits, screws, and clips
- Checking that the design meets basic manufacturability rules for future mass production
Professional teams clean up meshes, fix surface issues, and ensure water-tight geometries so the file is ready for 3D printing. This optimization saves time and reduces failed prints.
Step 2: Choosing the Right 3D Printing Process
Not all 3D printed prototypes are created equal. Different processes suit different needs:
- Fused Deposition Modeling (FDM) for quick, low-cost form studies
- Stereolithography (SLA) for high-detail visual models and smooth surfaces
- Selective Laser Sintering (SLS) or Multi-Jet Fusion (MJF) for tougher, functional parts and assemblies
- Metal 3D printing for prototypes that must withstand high loads or temperature
Selecting the right process depends on:
- Intended use: appearance model vs. functional test
- Required accuracy and detail
- Material properties needed (flexibility, toughness, temperature resistance)
- Budget and lead time constraints
Experienced partners, such as LKK, evaluate not only what is best for rapid prototyping but also what aligns with future manufacturing technologies so that the jump from prototype to production is smoother.
Over the past years, LKK Innovation Design Group has accumulated 609 design awards worldwide, and in 2026 it added new milestones by winning 2 Gold and 1 Silver at the MUSE Design Awards in the United States, as well as multiple honors from the Red Dot Product Design Award in Germany.
Step 3: Selecting Materials That Mimic Final Products
Material choice is critical when getting a 3D print product prototype made. For appearance models, designers might prioritize color, translucency, or surface finish. For functional prototypes, properties such as stiffness, impact resistance, and heat stability matter more.
Common material decisions include:
- Standard resins for high-detail visual prototypes
- Engineering resins or nylon powders for functional testing
- Flexible materials to simulate rubber or soft over-molds
- High-temperature or reinforced materials for complex engineering tests
Many modern 3D printing materials are tuned to emulate common injection-molded plastics, enabling realistic testing of part behavior before investing in tooling.
Step 4: Preparing the File for Print
Before pressing “print,” the 3D model must be oriented and sliced. This step affects strength, surface quality, support structures, and print time.
Teams typically:
- Choose orientation that minimizes visible layer lines on key surfaces
- Plan for adequate support where overhangs occur
- Adjust infill patterns and densities for strength and weight
- Check tolerances and gaps for mated parts to account for process-specific deviations
Careful preparation reduces post-processing work and helps ensure that parts assemble correctly straight out of the printer.
Step 5: Printing and Initial Evaluation
Once the file is prepared, the 3D printer builds the part layer by layer. After printing, support structures are removed and parts are cleaned.
The team then evaluates:
- Overall geometry and dimensions
- Tactile feel and ergonomics (grip, reach, weight)
- Basic functional performance for hinges, snaps, or moving parts
- Potential interferences in assemblies or housings
Because 3D printing is fast, multiple iterations can be completed in short cycles. This allows product teams to make decisions based on physical evidence rather than relying purely on screen-based reviews.
Step 6: Finishing and Visual Enhancement
Raw 3D prints rarely look like final products. To make a product prototype ready for user testing or presentations, teams apply finishing steps.
Typical finishing processes include:
- Sanding and smoothing surfaces
- Priming and painting for color and texture
- Applying decals, logos, or graphic elements
- Adding metallic coatings, soft-touch finishes, or clear coatings
- Assembling printed parts with hardware and electronics
Specialist shops can match paint codes, textures, and patinas to reference images or real materials, transforming a simple 3D print into a product-quality sample suitable for photography, trade shows, or investor pitches.
Step 7: Integrating 3D Printed Prototypes into a Full Development Process
A 3D printed prototype is most valuable when integrated into a comprehensive product development and manufacturing strategy. In modern industrial design and contract manufacturing workflows, teams use 3D printing at several points:
- Early in the concept stage for quick form studies and ergonomic tests
- During engineering validation for checking PCB fits, airflow paths, and mechanical robustness
- In DVT and PVT builds to accelerate iterations on enclosures and fixtures
- For low-volume or bridge production before full tooling is ready
LKK’s approach to contract manufacturing and product prototype design, for example, leverages 3D printing alongside CNC machining, soft tooling, and pilot production lines. This makes sure that the lessons from rapid prototyping feed directly into a design that factories can build reliably.
You can explore these integrated solutions on their official site: https://www.lkkerscm.com.
Real-World Use Cases
3D printed product prototypes support a wide range of applications:
- Consumer electronics: housings for wearables, smart speakers, or projectors used to validate size, grip, and button placement
- Healthcare: device enclosures that are evaluated for hygiene, ergonomics, and compatibility with medical workflows
- Industrial equipment: control panels and brackets tested for durability and ease of assembly
- Marketing props and fixtures: realistic mockups for campaigns, exhibitions, or retail pilots
Providers like LKK have delivered prototypes for sectors including smart home devices, industrial systems, and medical equipment, ensuring that each sample reflects both user expectations and manufacturing constraints.
Contact Us



- 20+ Design Industries Serviced
- 200+ Product Categories
- 1,000+ Industry Leaders Served
- 10,000+ Products Successfully Launched

Founder and Chairman of LKK Design Group
Ready to get started? Connect with us today!
 Talk to Our Team